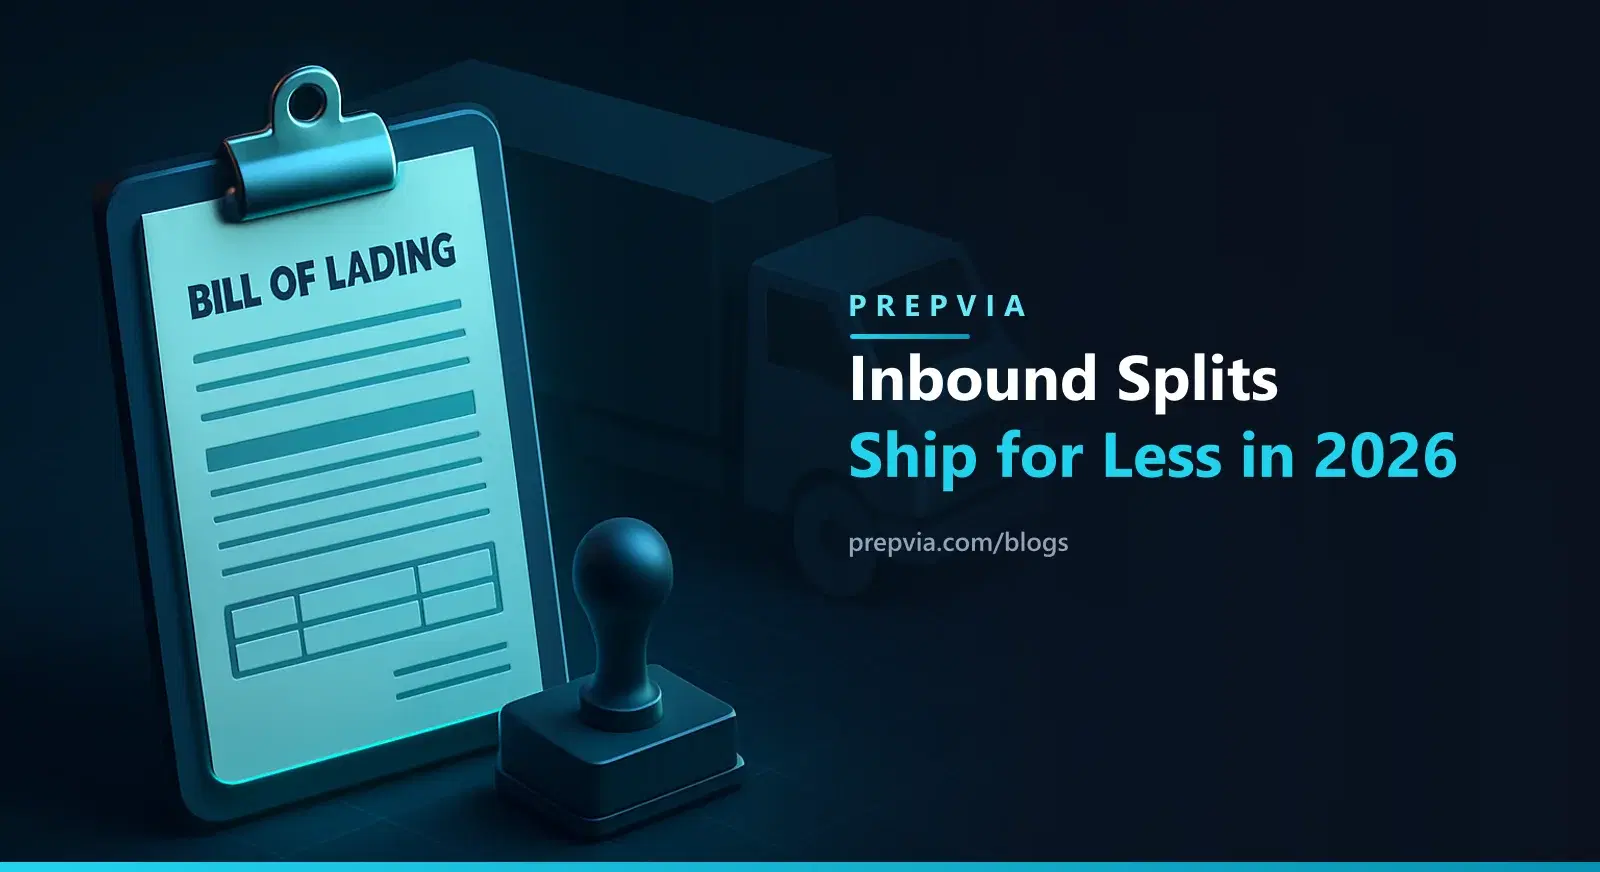
Mastering Amazon Inbound Shipping: How to Create Shipments and Handle Splits in 2026
Sending inventory into Amazon FBA sounds straightforward - until your shipment gets split across four fulfillment centers and you're facing fees you didn't plan for. For sellers who want to move inventory efficiently and profitably in 2026, understanding the full Amazon shipment creation workflow and knowing how to handle splits strategically is no longer optional.
This guide walks you through the Send to Amazon (STA) process step by step, explains how Inbound Placement Service fees affect your cost, and helps you choose the right routing strategy for your business.
What Is "Send to Amazon" and Why It Matters in 2026
Send to Amazon (STA) is Amazon's current shipment creation workflow inside Seller Central, replacing the older Manage FBA Shipments interface. It's more streamlined, but it comes with decisions that directly impact what you pay to get inventory into the network.
In 2024, Amazon introduced the Inbound Placement Service, which restructured how sellers are charged based on where - and how many places - their inventory ships. In 2026 the fee table was rewritten: minimal splits for standard size rose about $0.05 per unit on January 15, large standard gained five new weight bands between 3 and 20 lb, and the old Large Bulky tier split into Small Bulky and Large Bulky, the latter up about $0.27 per unit. Understanding them before you create your shipment is the difference between a profitable restock and an expensive one.
Step-by-Step: How to Create an FBA Shipment in 2026
- Access Send to Amazon in Seller Central. Navigate to Inventory > FBA Inventory > Send/Replenish Inventory, or access STA directly from your inventory dashboard.
- Select your products and quantities. Add your ASINs and enter units per item. Be precise: since January 15, 2026, a shipment whose received quantities differ significantly from the plan counts as an incomplete shipment and carries the inbound defect fee, $0.32 to $1.74 per unit on standard size and up to $5.72 on Large Bulky.
- Confirm prep and packaging. Confirm how each unit is prepped: poly bagged, bubble wrapped, or no prep needed. If you're using a 3PL for FBA inbound shipping, they'll handle prep before the shipment leaves their facility.
- Enter box content information. Declare what's in each box - which ASINs, how many units, and the box weight and dimensions. Amazon accepts this via manual entry, spreadsheet upload, or 2D barcode scanning. The 2D barcode method is the most efficient: one printed barcode per carton carries the full manifest, so receiving doesn't have to open and identify the box. It doesn't shortcut the clock: receiving can still run up to 18 days and reconciliation up to 21. Skipping box content information triggers the FBA manual processing fee: $0.15 per unit from January to October and $0.30 per unit in November and December, set by the month the first unit is received and billed 14 days later.
- Choose your inbound placement option. This is the most consequential decision in the workflow. More on this below.
- Select your carrier - SPD or LTL. Small Parcel Delivery (SPD) is individual boxes, each labeled for delivery. The Amazon partnered rate for SPD runs through UPS; FedEx and others are available only as your own non partnered carrier. Less Than Truckload (LTL) works better for pallet shipments and is typically more cost-effective at higher volumes. Amazon offers partnered carrier rates inside STA for both options, or you can use your own carrier.
- Print labels and ship. Apply FBA box labels to each carton and hand off to your carrier. Track receiving status in Seller Central using your shipment ID.
24 to 36h prep. 35-hour end-to-end guarantee or the prep is free. Net-30. No minimums.
Understanding Amazon Split Shipments in 2026
When Amazon splits your shipment, your inventory is routed to multiple fulfillment centers rather than one. This is how Amazon positions products closer to the customers most likely to buy them. Amazon split shipments are not a problem - they're a network feature. The question is how much you're willing to pay to control them.
Inbound Placement Service: The Fee That Changes Everything
The Inbound Placement Service gives standard size products two options at shipment creation: Minimal Shipment Splits and Amazon-Optimized Shipment Splits. Bulky products get a third, Partial Shipment Splits, at a reduced fee; partial splits are not offered for standard size.
Minimal Shipment Splits: You send inventory to the minimal number of inbound locations, generally a single one. Simpler logistics, easier carrier coordination. The trade-off: Amazon charges a higher placement fee per unit because they redistribute your inventory internally after receiving it. This option makes sense when your freight costs to multiple destinations would exceed Amazon's placement fee, when you're shipping low volumes, or when multi-destination logistics aren't feasible.
Amazon-Optimized Shipment Splits: you send inventory yourself to five or more inbound locations. To qualify, the plan must include at least five identical cartons or pallets per item, each with the same item mix and the same quantity. You pay no placement fee at all on this option, because you're handling the distribution. The trade-off: more shipping labels, more carrier coordination, and more complexity. This option delivers the best unit economics at scale. If you're shipping 500+ units of a fast-moving ASIN and your 3PL handles multi-destination splits as part of their prep workflow, the per-unit savings compound quickly.
How to decide: Amazon shows you a fee estimate for each placement option before you confirm inside STA. Compare that number against your multi-destination carrier costs. Whichever total is lower wins.
Practical Tips for Smoother FBA Inbound Shipping
- Always submit box content information. The manual processing fee is avoidable with 10 minutes of data entry or a 2D barcode workflow.
- Don't mix prep types in one box. Keep poly-bagged, bubble-wrapped, and standard units in separate cartons when possible. Mixed prep boxes slow down receiving at the fulfillment center.
- Reconcile shipments promptly. Reconciliation can take up to 21 days, and the Reconcile actions only open once the shipment is Closed. The claim window for a shipment to Amazon opens 15 days after delivery and closes at 60 days, so waiting too long forfeits your right to file.
- Consolidate when possible. Frequent small shipments increase per-unit inbound cost. Larger, consolidated sends reduce both carrier fees and processing overhead.
The Bottom Line
Amazon split shipments are something to plan for, not fear. Sellers who build a repeatable Amazon shipment creation process, understand their inbound placement options, and use tools like 2D barcodes and accurate box content information will move inventory faster and at lower cost than those who don't.
In 2026, with Amazon's inbound fees fully matured, the cost of not having a strategy is measurable. Build yours before your next restock.